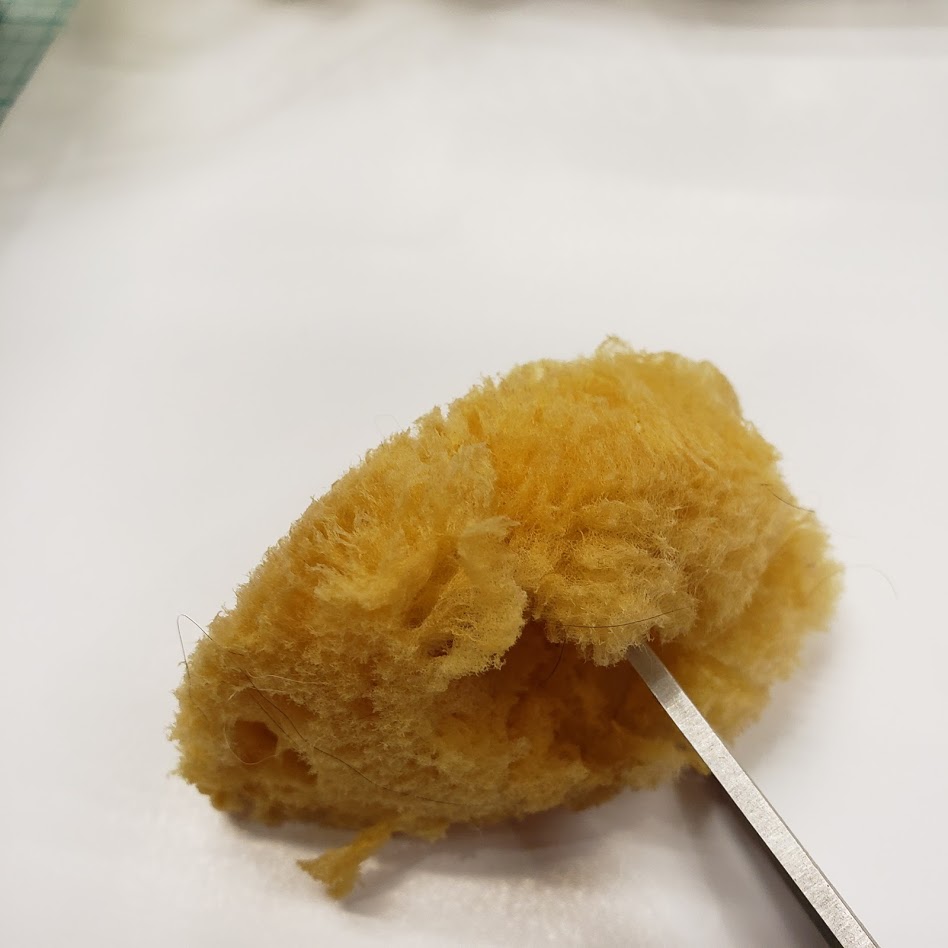
Cut up the sea sponge into smaller pieces.
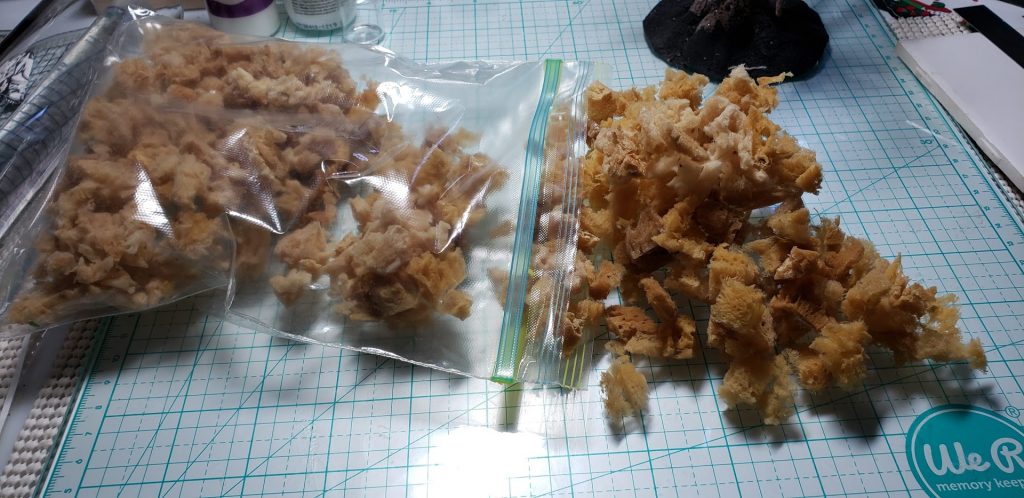
Put the pieces into a ziploc bag. It helps to wet the sponges and squeeze out all the water so the sponges are damp.
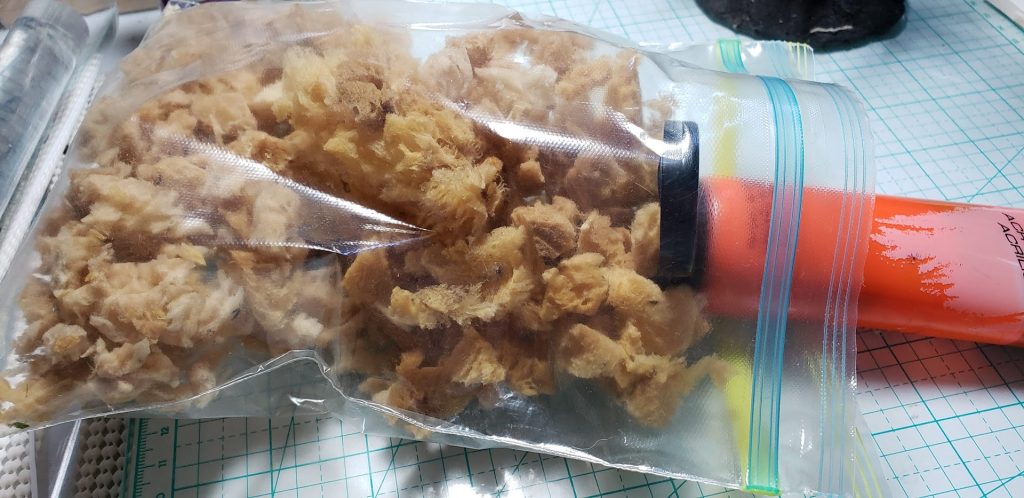
Add acrylic paint to the bag of sponges. Bright colors work best. Muted tones can look dirty.
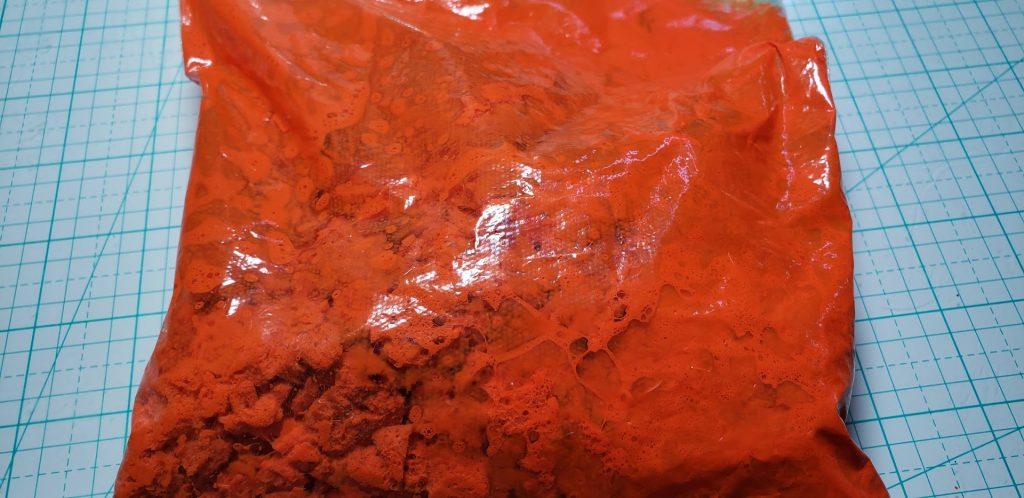
Mix the paint and sponges together. Knead the bag well to get the paint mixed all the way into the sponges.
Empty the painted sponges onto a wax paper sheet.
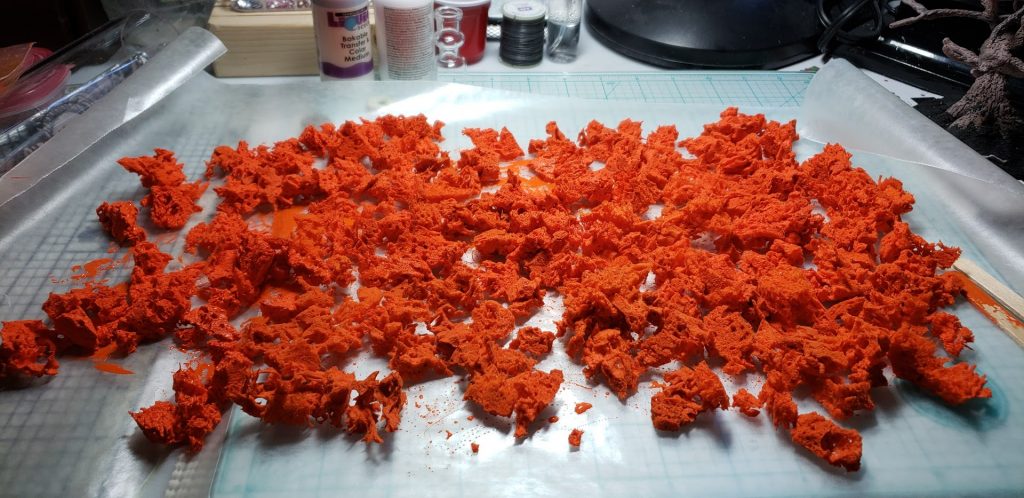
Spread out the sponges and let it dry overnight.
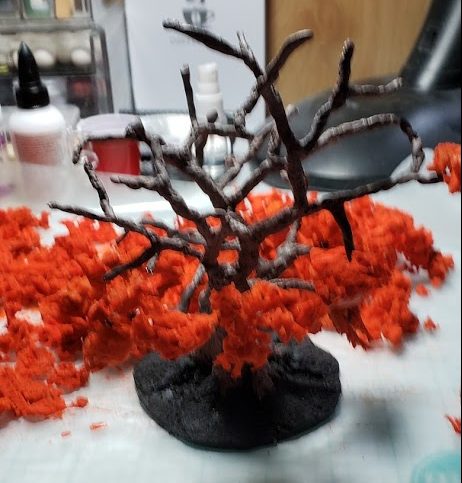
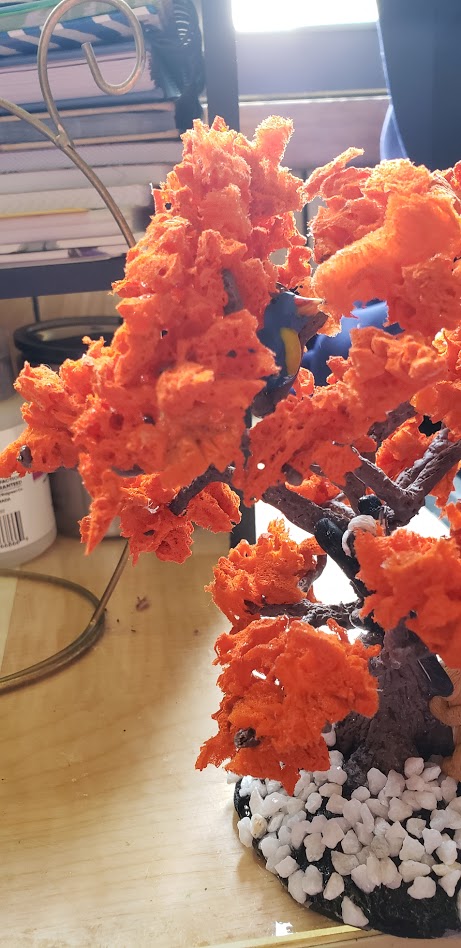
Add the sponges to the tree using Liquid Fusion
Use manicure scissors to trim any blunt edges.
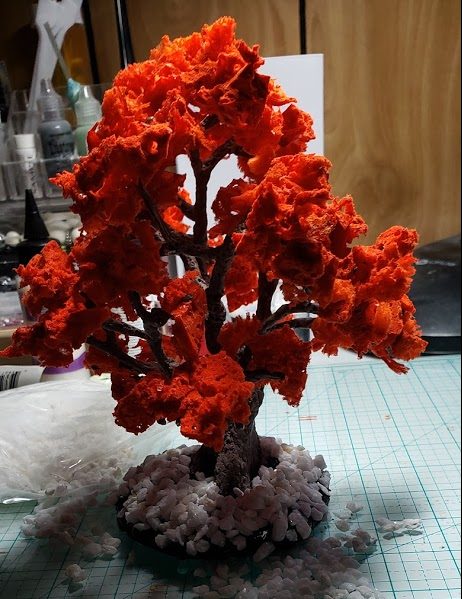
Add your decoration to the base with glue. I used white pebbles I bought at the dollar store.

I added a dog on the bottom of my tree.
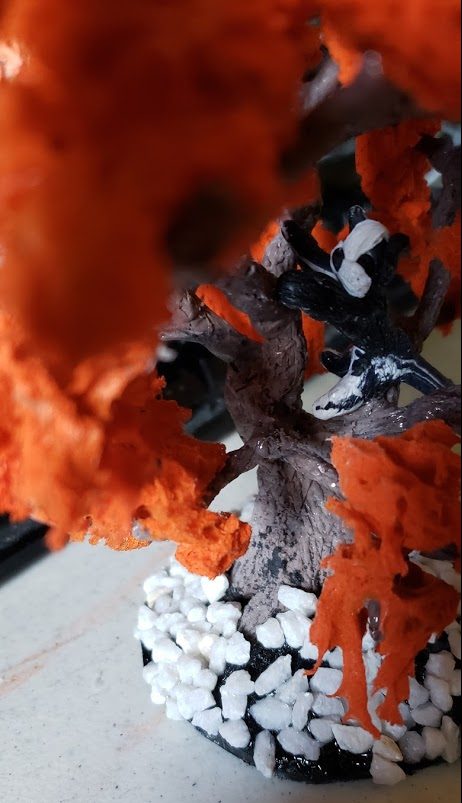
A cat in the middle of the tree….
and a bird in the top of the tree.
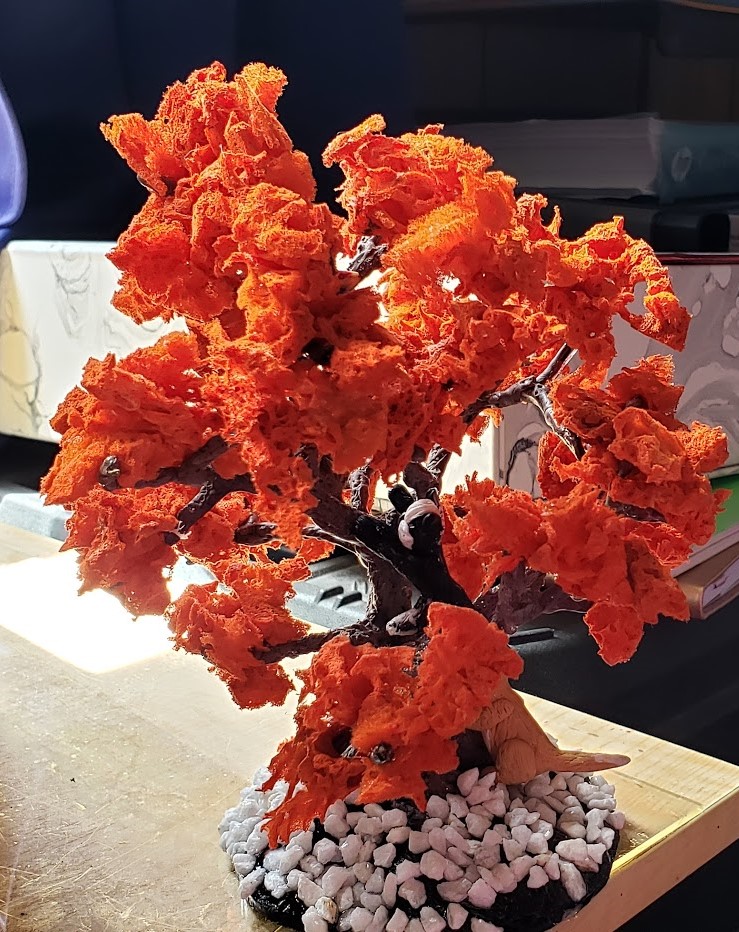
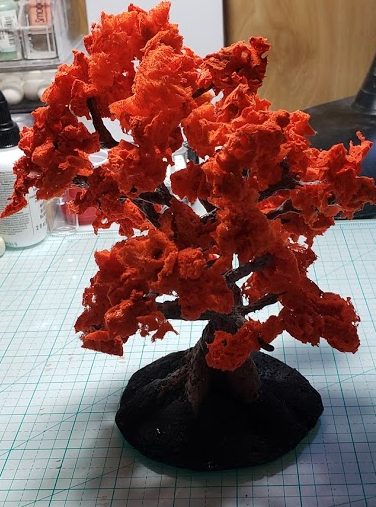
The finished tree.
I add felt on the both of the tree as a finishing touch. I have to admit I talk to God while I am making my trees and images will pop into my head like the dog chasing the cat hunting the bird along with phrases and such. If I am making a tree for a particular person, I have a conversation with God and I follow the images that pop into my head.
It takes a long time to make a tree. If I am making a beaded tree, I use glass beads that will be safe to bake. The beaded trees can take up to a 1000 beads and they take months to complete. The sponge trees are the easiest and fastest to complete.
BEAUTIFUL! Good,job, Eva!
Love -Love-Love your tree!