
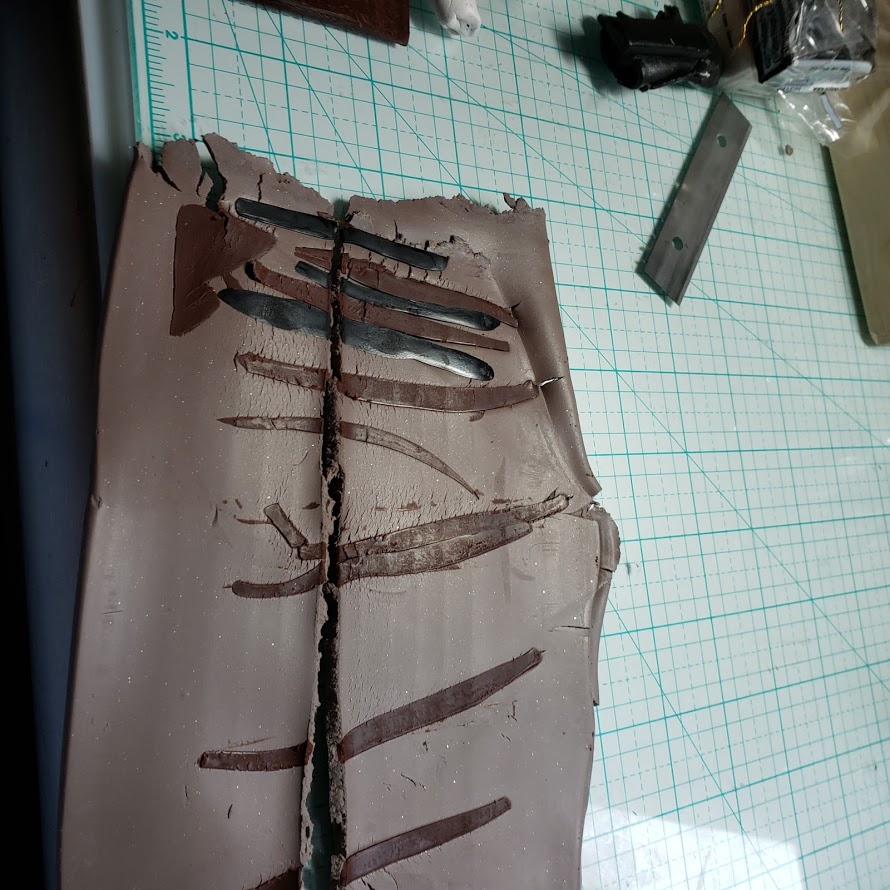
First I mix the clay. I use a combination of brown, grey, black and white to get the color I want. I use leftover mud clay too. I cut thin strips of brown, black and white. Run it thru the pasta machine on 1 or 2.


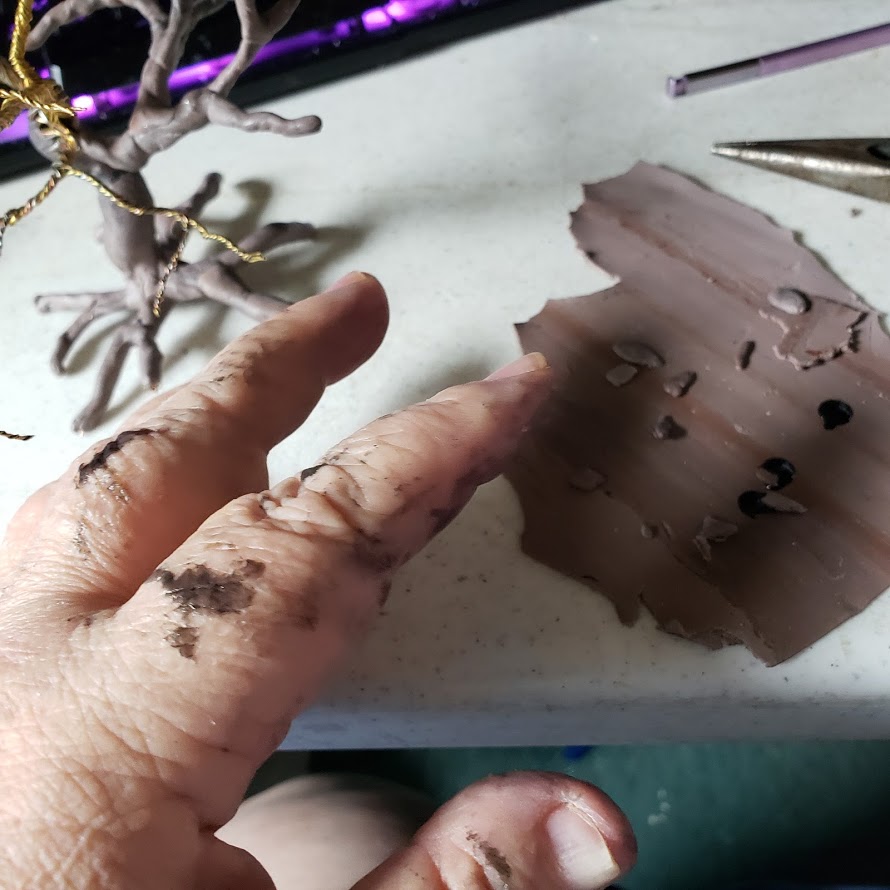
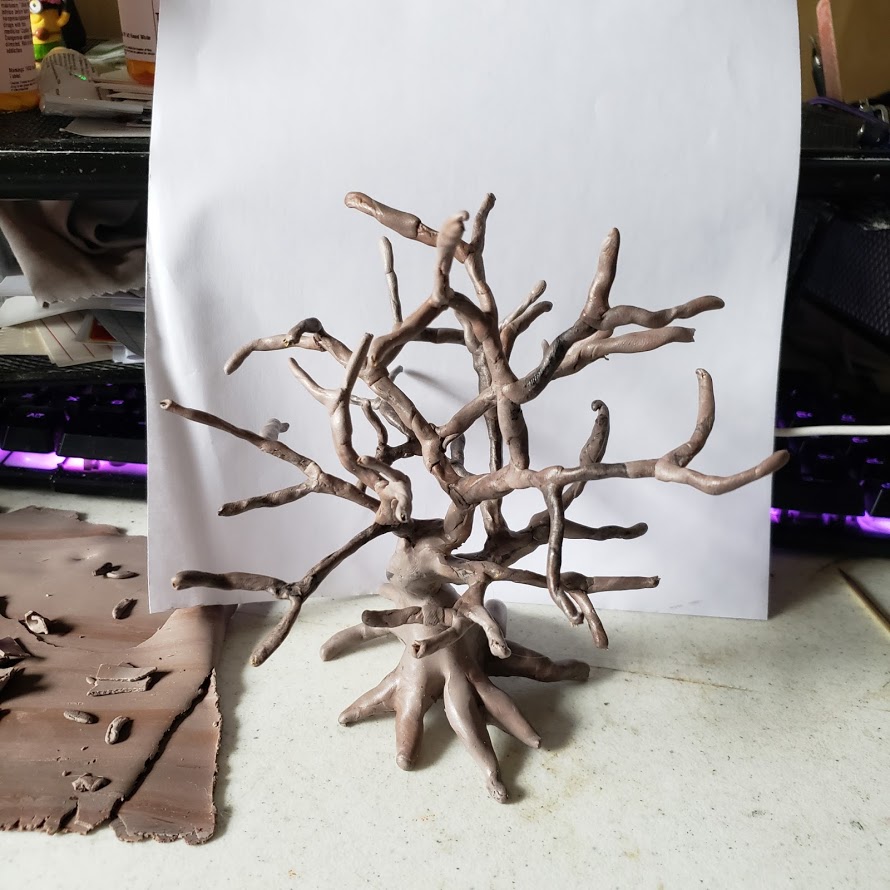
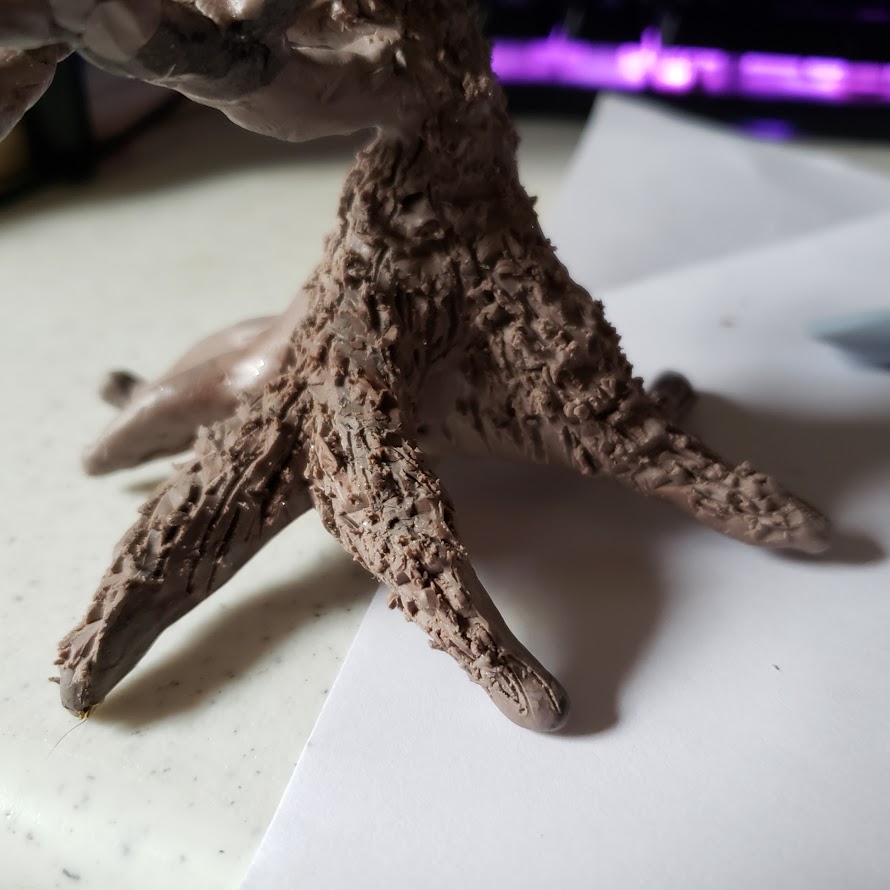
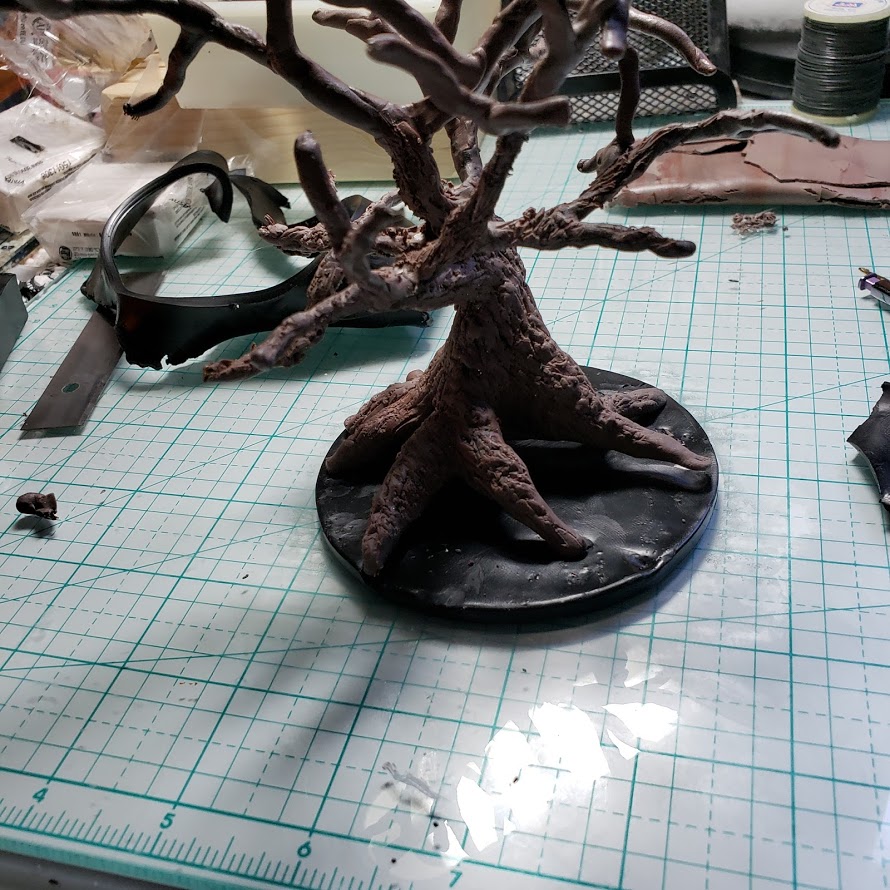
You may want to wear gloves for this step. Your fingers will be stain by the liquid clay. I use black liquid clay. You will need to shape the tree before apply the clay. Most trees will have their branches reaching for the sky. There are other trees like the willow where the branches turn toward the ground. Once the branches are position upward. Then the tip of branches, I level it out a bit to make it easier to attach the sponge leaves.

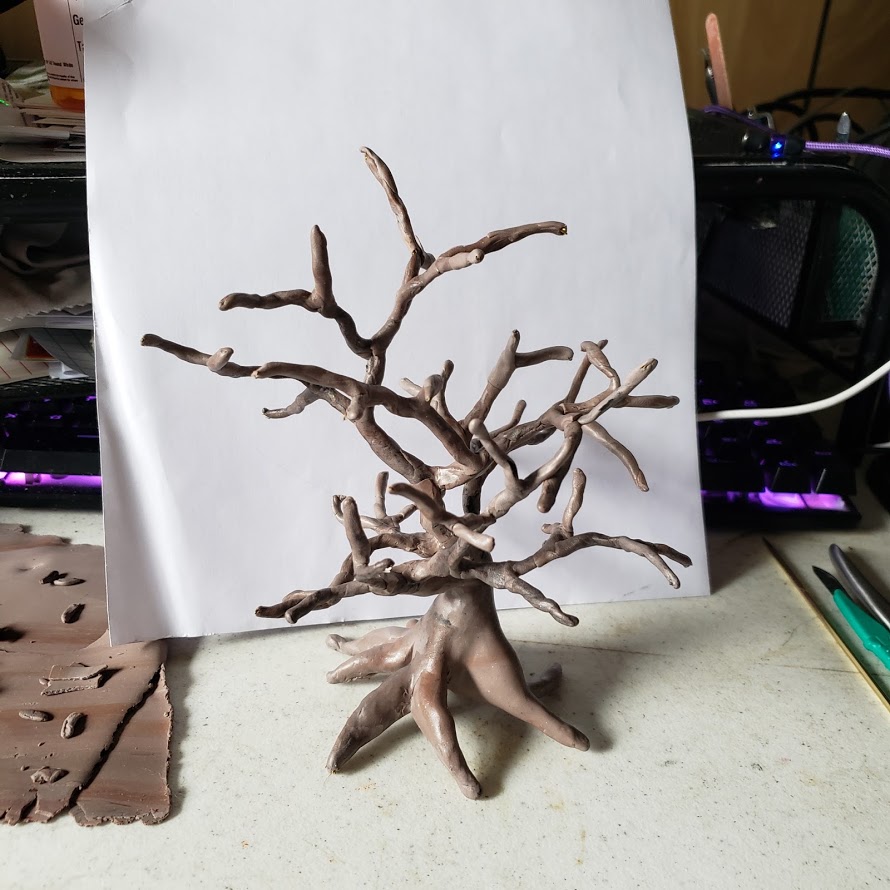


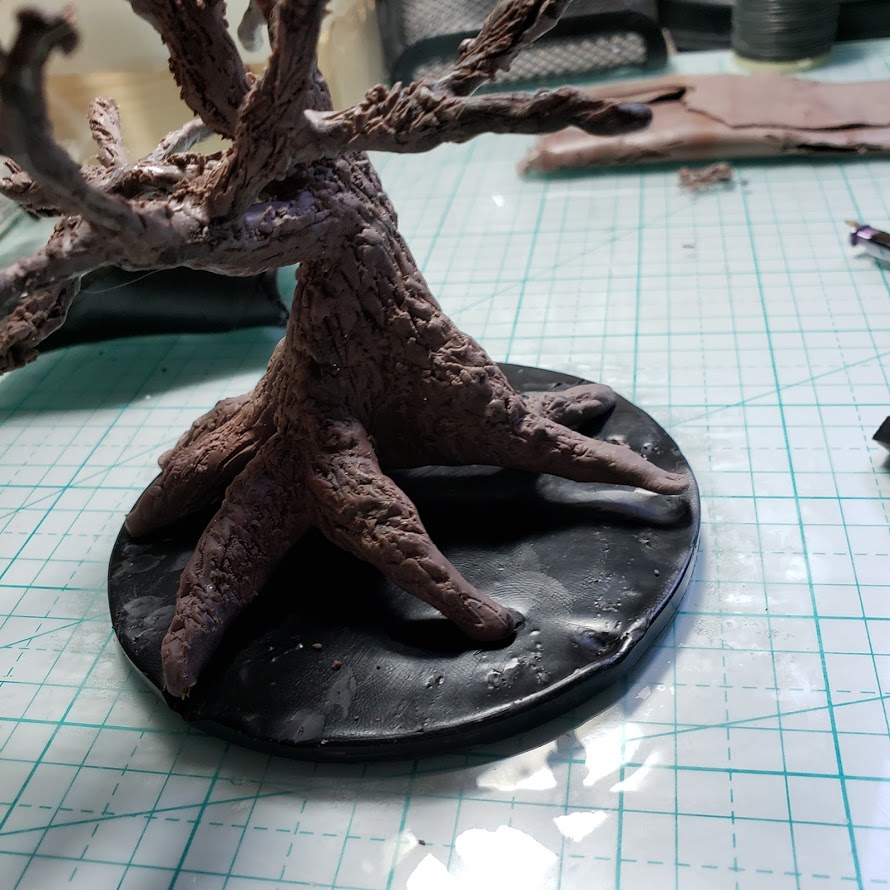
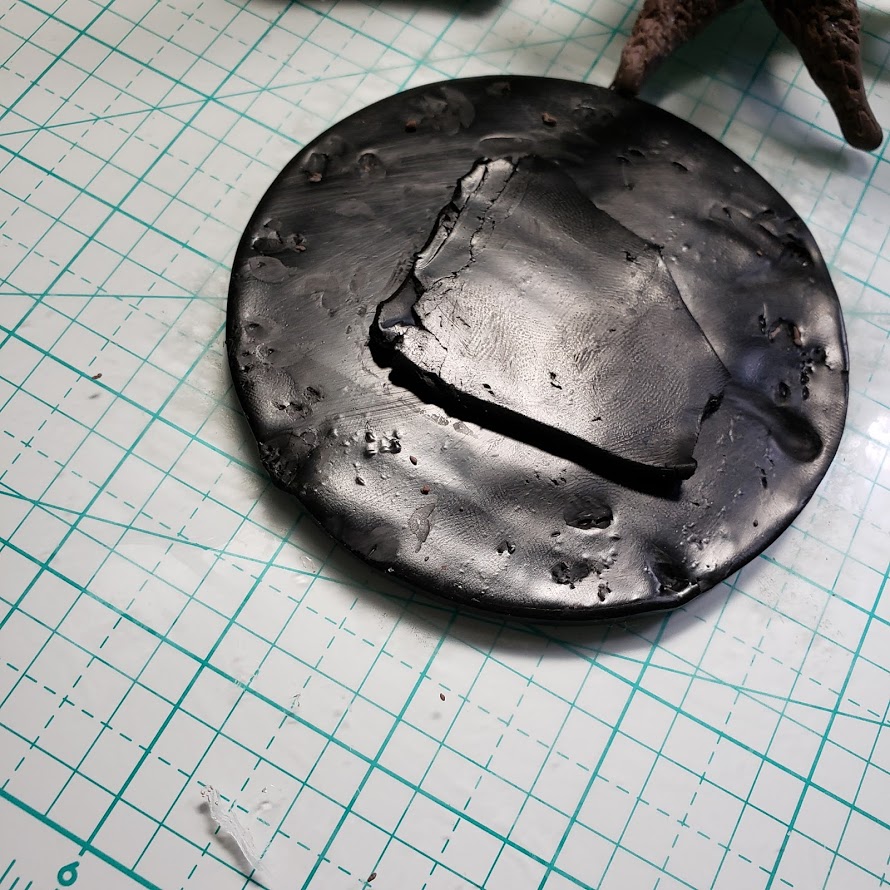
Now you will need to decide what scenes you are going to create around the tree before you bake it. For instance, if I am going to add a little pond, cattails and rocks. I will make the depression for the pond now. I will use white clay to cover the pond depression. I will form the rocks out of aluminum foil, cover with clay and add some of the rocks now but the rocks can be added later. I will add the holes where I am planning on planting the cattails. It is easier to make depressions and add holes in the uncured clay. Now once you are satisfied with the texture of the tree and the placement of the objects, it is ready to bake. I will bake it in the regular oven if I can’t stand it up in the toaster oven. Some times I will support it with fiberfill and lay the tree on its side. If you do that you need to make sure your base doesn’t get mushed. That is usually why I bake it in the regular oven. Since I used premo, I bake it at 275 for an hour.
The next segment will cover finishing the base and add the leaves.
Love it! I like the ruts and branches. Thanks for explaining step by step. Happy Easter.